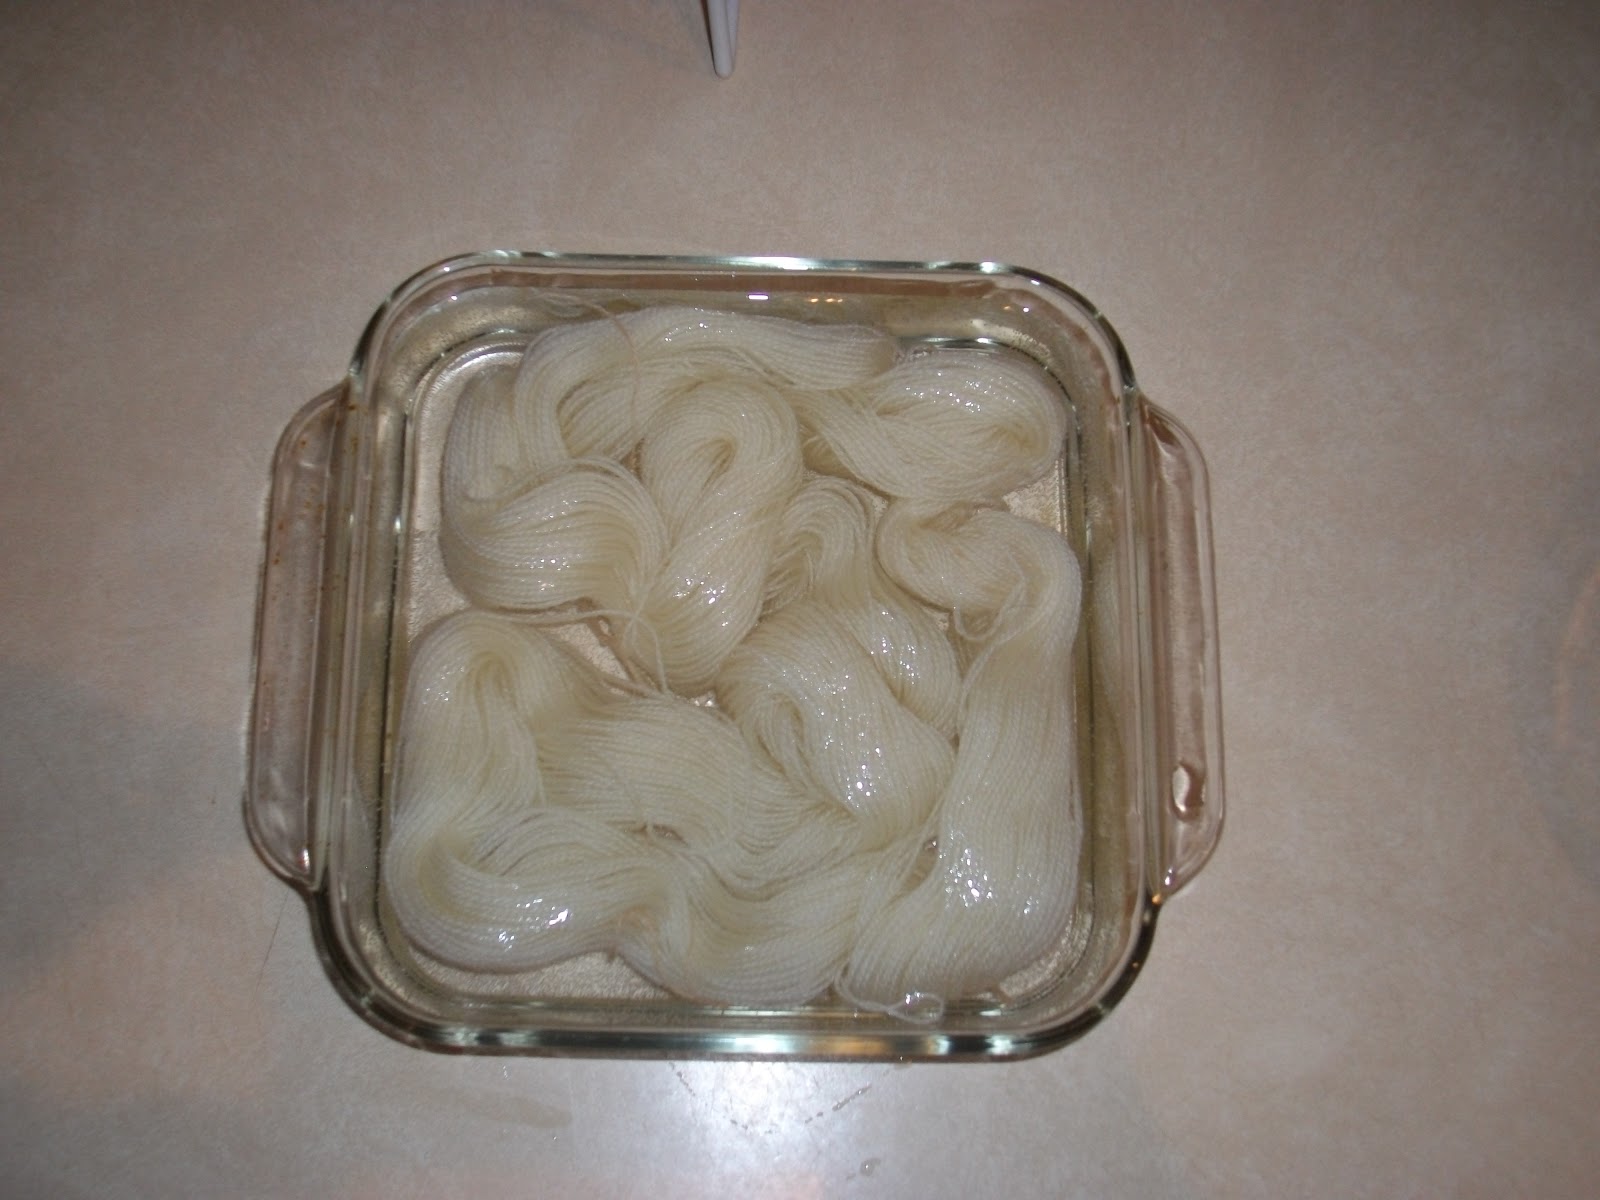
Step One: Soak the yarn. I used a vinegar and water mixture.

Step Three: Mix the coloring, the vinegar, and the water in the measuring cups and add yarn.

Be careful with the food coloring. It will stain your fingers. Ask me how I know....

Step Four: Let the yarn soak for a while. If you wish, use a spoon to move the yarn around to make sure all of the yarn gets colored. Or, move the yarn around with your fingers (hey, if you've already stained your fingers, what's a little more?)

Watch out for splashes that could end up leaving rings of color on your cream-colored countertop. No need to ask me how I know....

Step Five: When the dye is sufficiently soaked in to the yarn (saturation point is up to you) get ready to heat it up. To make transport easier, I poured the red section back into this glass baking dish and just made room for the measuring cup with the blue section. Then I put the whole shebang into the microwave. I microwaved it on high for 90 seconds at a time, about four times. Until the water around the red section was clear.

Testing for clear water with a measuring spoon. Not sure when exactly but obviously during this microwave section I also decided to dump the blue section in with the rest of the yarn.

Step Six: Once the yarn was "done" getting dyed, it was time to rinse. A teeny squirt of dishsoap into a bowl and a few squishes later and I was pretty much done with the washing/rinsing part.

I carefully squeezed the excess water out and....
Wait, what? Where did all that extra red in the water come from?

More rinsing and more careful water squeezing ensued, until the water ran clear again.
Step Seven: Hang it up to dry. I chose to put the drying rack in the kitchen in case of drips. This time luck WAS on my side - no drips!!
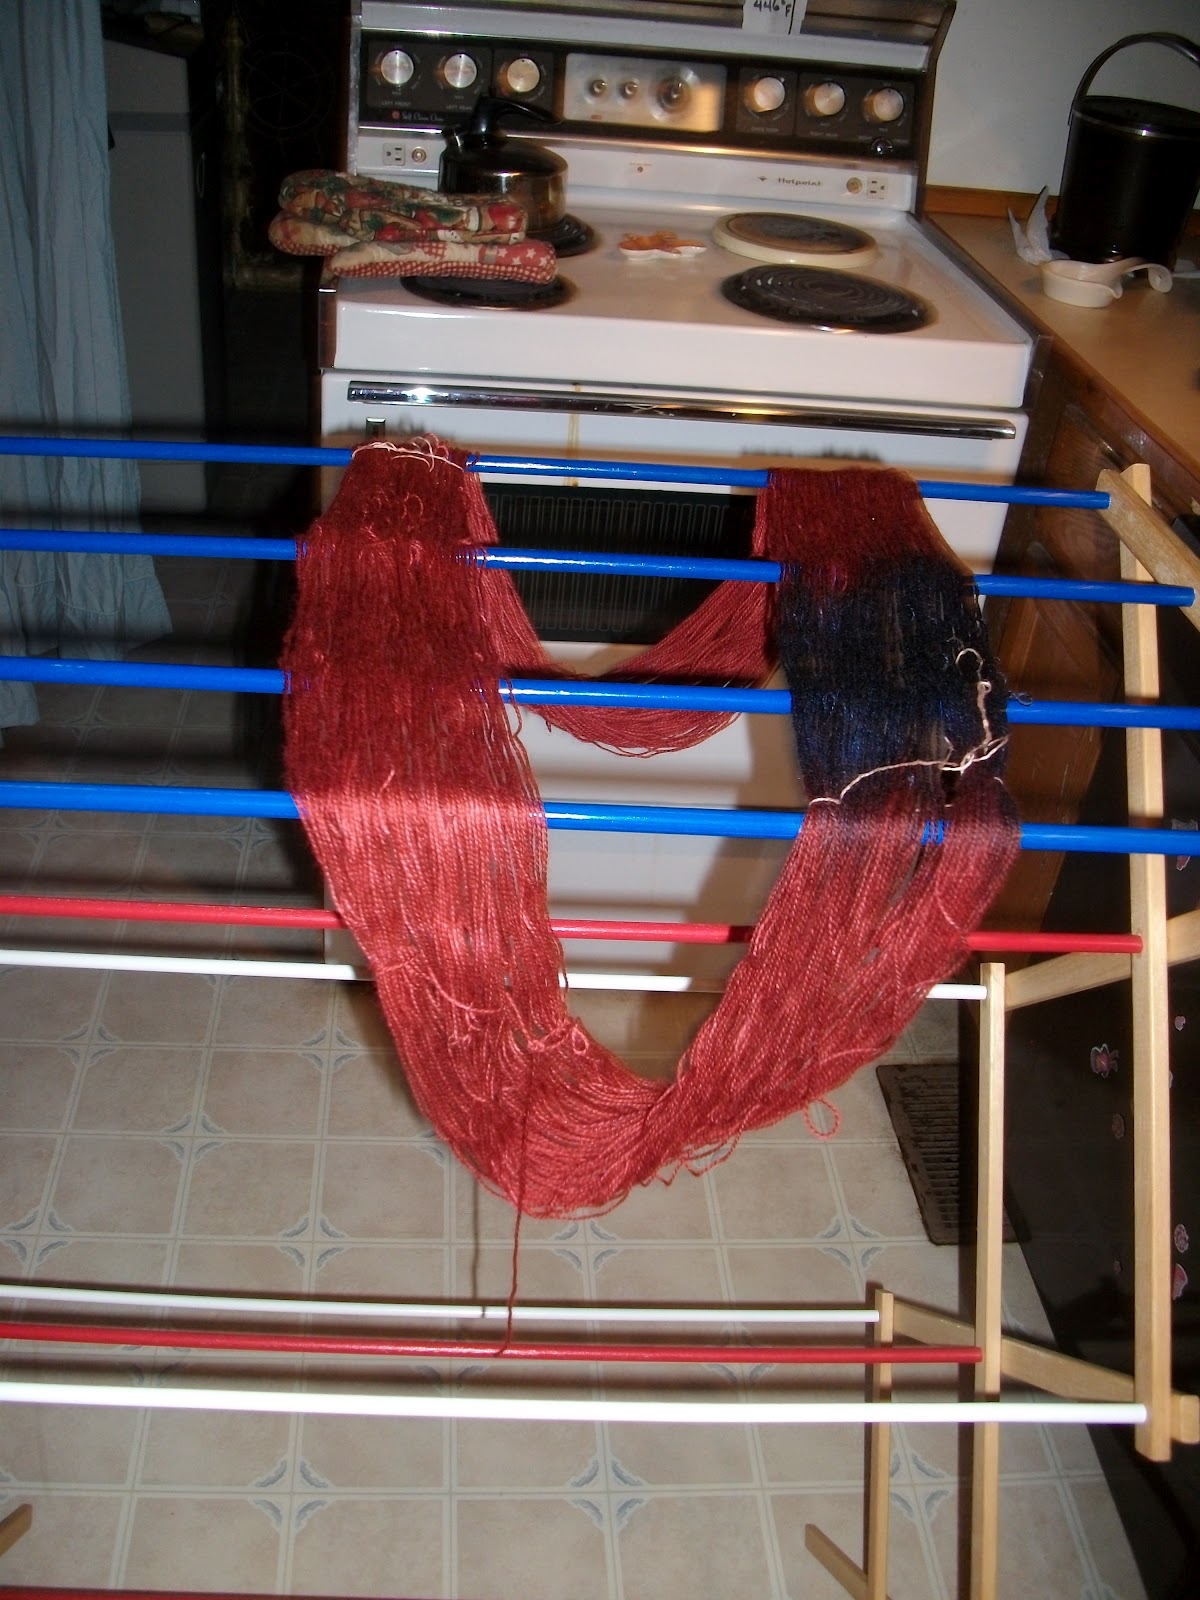

Thankfully, they seem to be very close in size.
No comments:
Post a Comment