Showing posts with label dying. Show all posts

Friday, September 05, 2014

Dying Yarn

I'm finding that I really enjoy dying yarn.  If I could afford it, I think I'd try my hand at selling the yarn I dye.  However, it's not a cheap hobby, which is why I haven't done it much.  I'm sure I'd make my money back and more, but getting started is half the battle.  Anyway, on to this dying adventure.

This time, I used a method that involved freezing Kool-Aid into ice cubes prior to applying the color to the yarn.  These ice trays are new, and I discovered that there is such a thing as "too full" if I'm planning to stack the trays.


This led to me having to handle the cubes more than I had planned, which led to staining my fingers.


Thankfully, this only took a couple of days to fade completely.  Moving on - as usual, I soaked the yarn for several hours in water that had a few glugs of vinegar in it.  I just eyeball it.


Once it had soaked I put it into a roasting pan and scattered the color cubes over the top of the yarn.

Then it went into the oven for 2 hours.

When it came out, it wasn't nearly as dark as I was expecting or hoping for it to be.  Therefore, I decided to give it another run through the system.  I got more Kool-Aid and doubled the concentration of Kool-Aid to water.  I also moved the yarn from the large roasting pan to a smaller glass pan.


Rather than freeze this batch of dye, I just poured it over the yarn in the pan.  It made for a very full pan of yarn, so I had to be very careful when it came to transporting this across my kitchen.  Grape Kool-Aid stains.

Back into the oven it went for another hour and thirty minutes, after which the color was much darker overall.  I checked to be sure that the water was now clear, then gave it a dunk in the sink to cool/rinse.
Then it was onto the drying rack in the bathtub.  Best place for something to drip dry - especially something that you can't wring out for fear of damaging it (wringing wet wool yarn can cause felting, which is great when you want it but terrible when you don't - and I don't, at least not for this).


The next day, it was dry and I twisted it into a hank.  Finished!!

Saturday, March 24, 2012

Adventures in Dyeing

I decided to dye some more yarn last night.  Learned a few things in the process.  This was completely different from the last time I dyed yarn, but just as fun.

Step One: Soak the yarn.  I used a vinegar and water mixture.
 

Step Two: While the yarn is soaking, gather your dying supplies.  For me, for this dye job, my supplies were two glass measuring cups and food coloring, plus vinegar and water.

Step Three: Mix the coloring, the vinegar, and the water in the measuring cups and add yarn.

Be careful with the food coloring.  It will stain your fingers.  Ask me how I know....

Step Four: Let the yarn soak for a while.  If you wish, use a spoon to move the yarn around to make sure all of the yarn gets colored.  Or, move the yarn around with your fingers (hey, if you've already stained your fingers, what's a little more?)

Watch out for splashes that could end up leaving rings of color on your cream-colored countertop.  No need to ask me how I know....

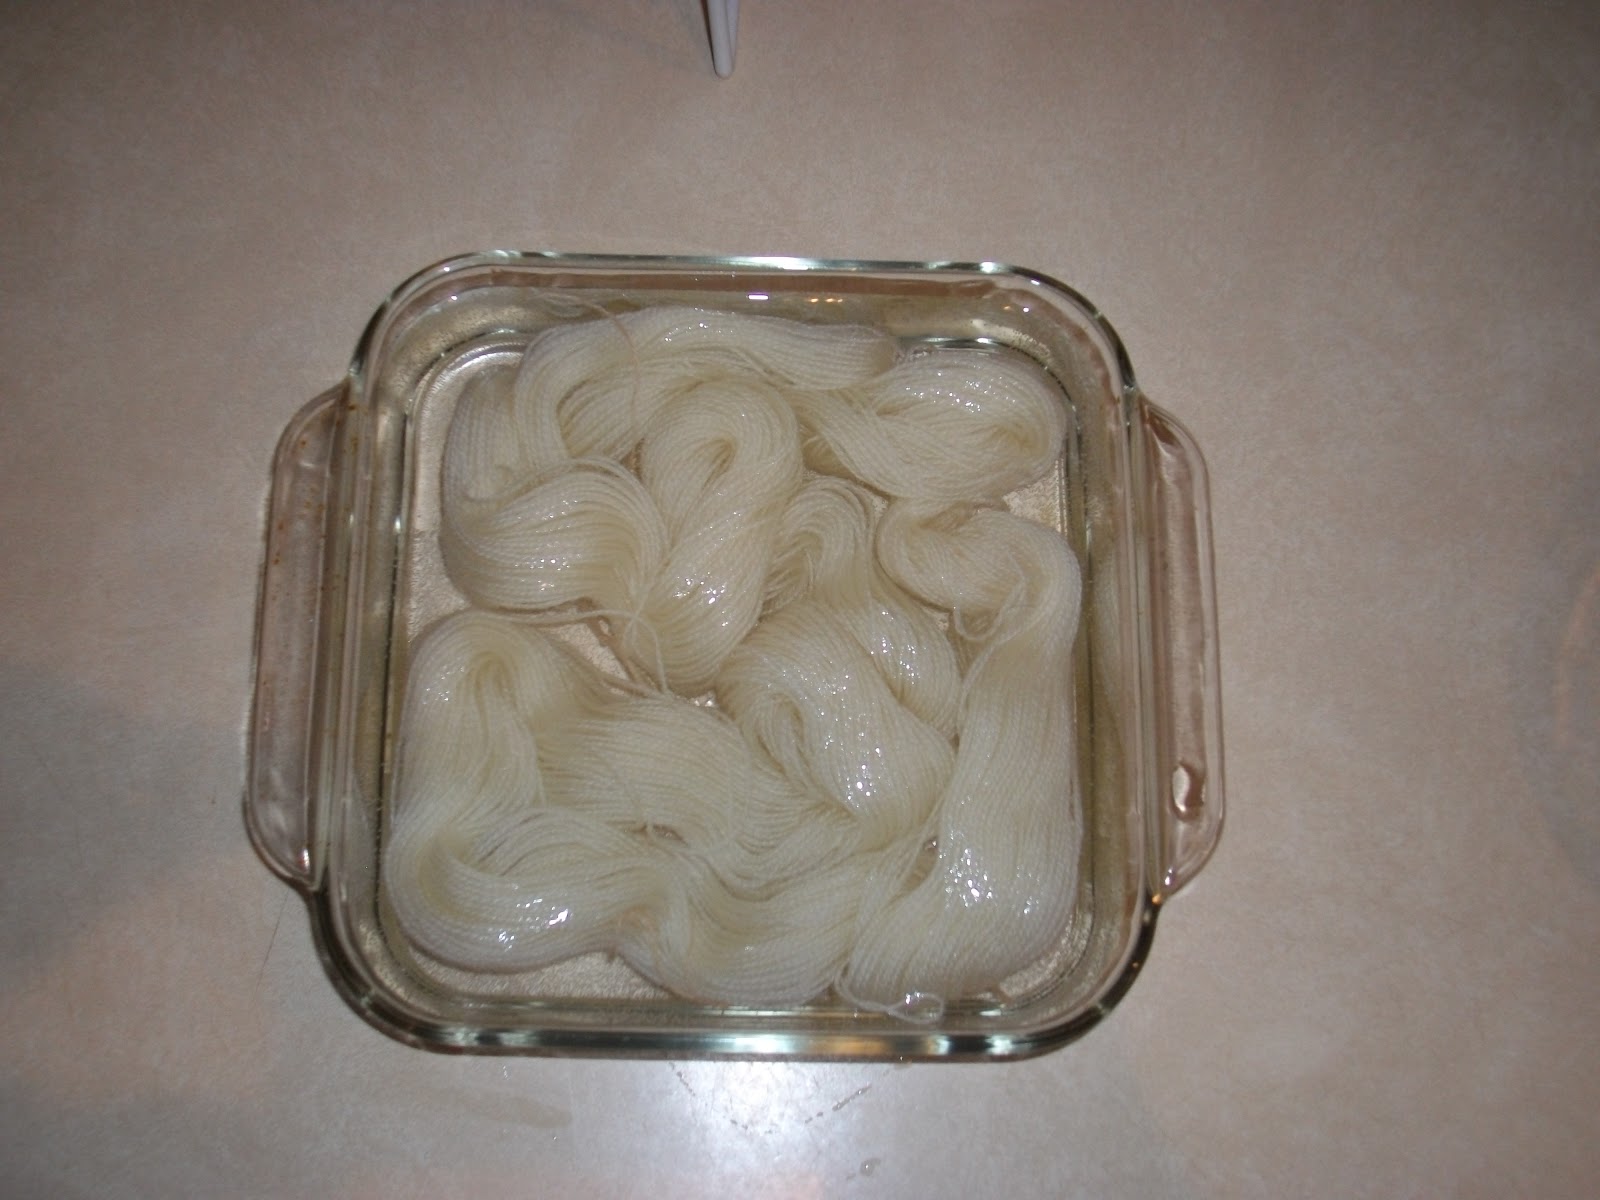
Step Five: When the dye is sufficiently soaked in to the yarn (saturation point is up to you) get ready to heat it up.  To make transport easier, I poured the red section back into this glass baking dish and just made room for the measuring cup with the blue section.  Then I put the whole shebang into the microwave.  I microwaved it on high for 90 seconds at a time, about four times.  Until the water around the red section was clear.

Testing for clear water with a measuring spoon.  Not sure when exactly but obviously during this microwave section I also decided to dump the blue section in with the rest of the yarn.

Step Six: Once the yarn was "done" getting dyed, it was time to rinse.  A teeny squirt of dishsoap into a bowl and a few squishes later and I was pretty much done with the washing/rinsing part.
I carefully squeezed the excess water out and....

Wait, what?  Where did all that extra red in the water come from?
More rinsing and more careful water squeezing ensued, until the water ran clear again.

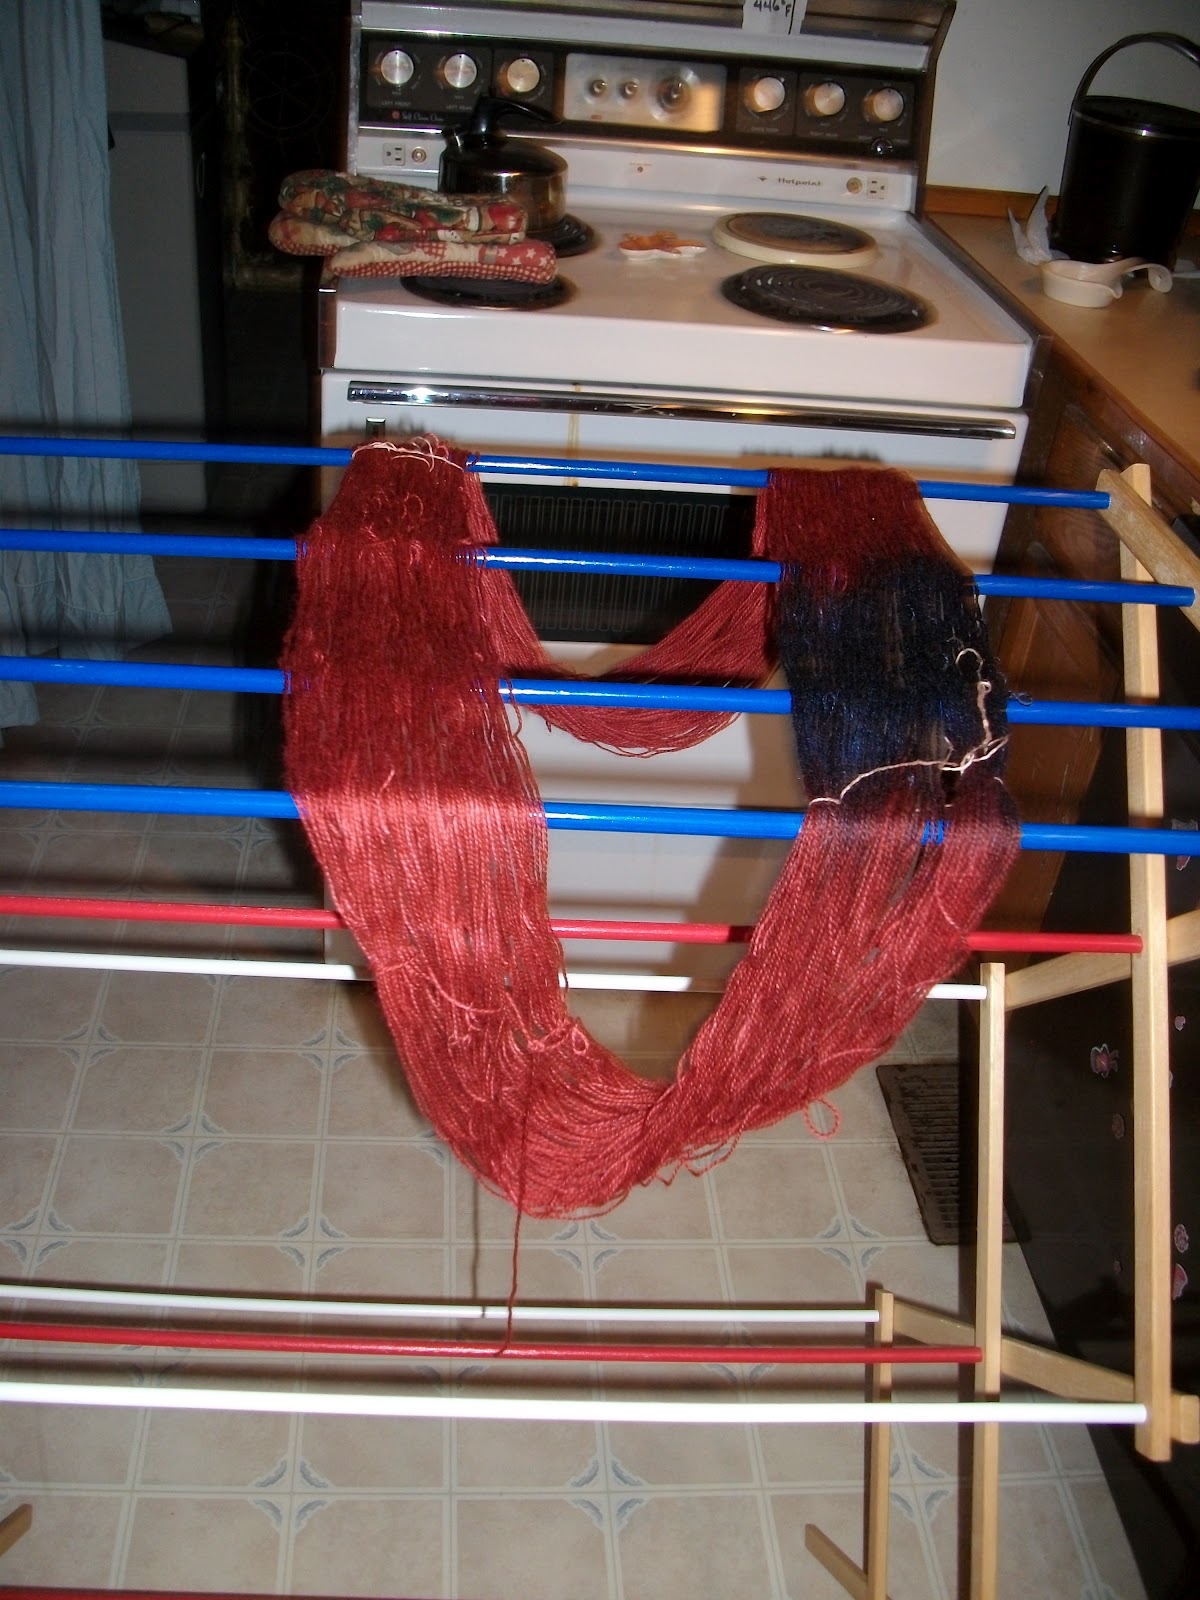
Step Seven: Hang it up to dry.  I chose to put the drying rack in the kitchen in case of drips.  This time luck WAS on my side - no drips!!
I left it like this to dry overnight.  There were a few damp spots left this morning, but it seemed dry enough overall so I moved on to the next step.


Step Eight: Re-skein the yarn.  Sure, I could have left it as it was and simply twisted it back up, but I wanted the blue to look a little more random, which meant changing the length of the loop before re-twisting.  This particular step also led me to discover that there was a break in this skein, and instead of one, I have two!
Thankfully, they seem to be very close in size.

Saturday, August 20, 2011

Dying Yarn

I decided to try my hand at dying yarn.  This is a process that can either go very well or quite badly, but no matter how you do it, you'll always get something different.  For this batch of sock yarn, I am aiming for the color chartreuse, and using Kool-Aid in my slow cooker.  This is what I did, plus a little bit of extra info for slightly different situations.

1. Start with a slow cooker, yarn to be dyed (must be of animal fibers - synthetic fibers will not take dye), and Kool-Aid.  For this color I am using two green and four yellow packets.

2. Carefully remove the ball band from your yarn and spread it out.  Hopefully your yarn is in a large loop already (mine was).  Loosely tie some off-color (or white) yarn that will not take the dye or spread its own dye.  Here I used Red Heart Super Saver in orange.  Having an off color will help you to find these strings later.

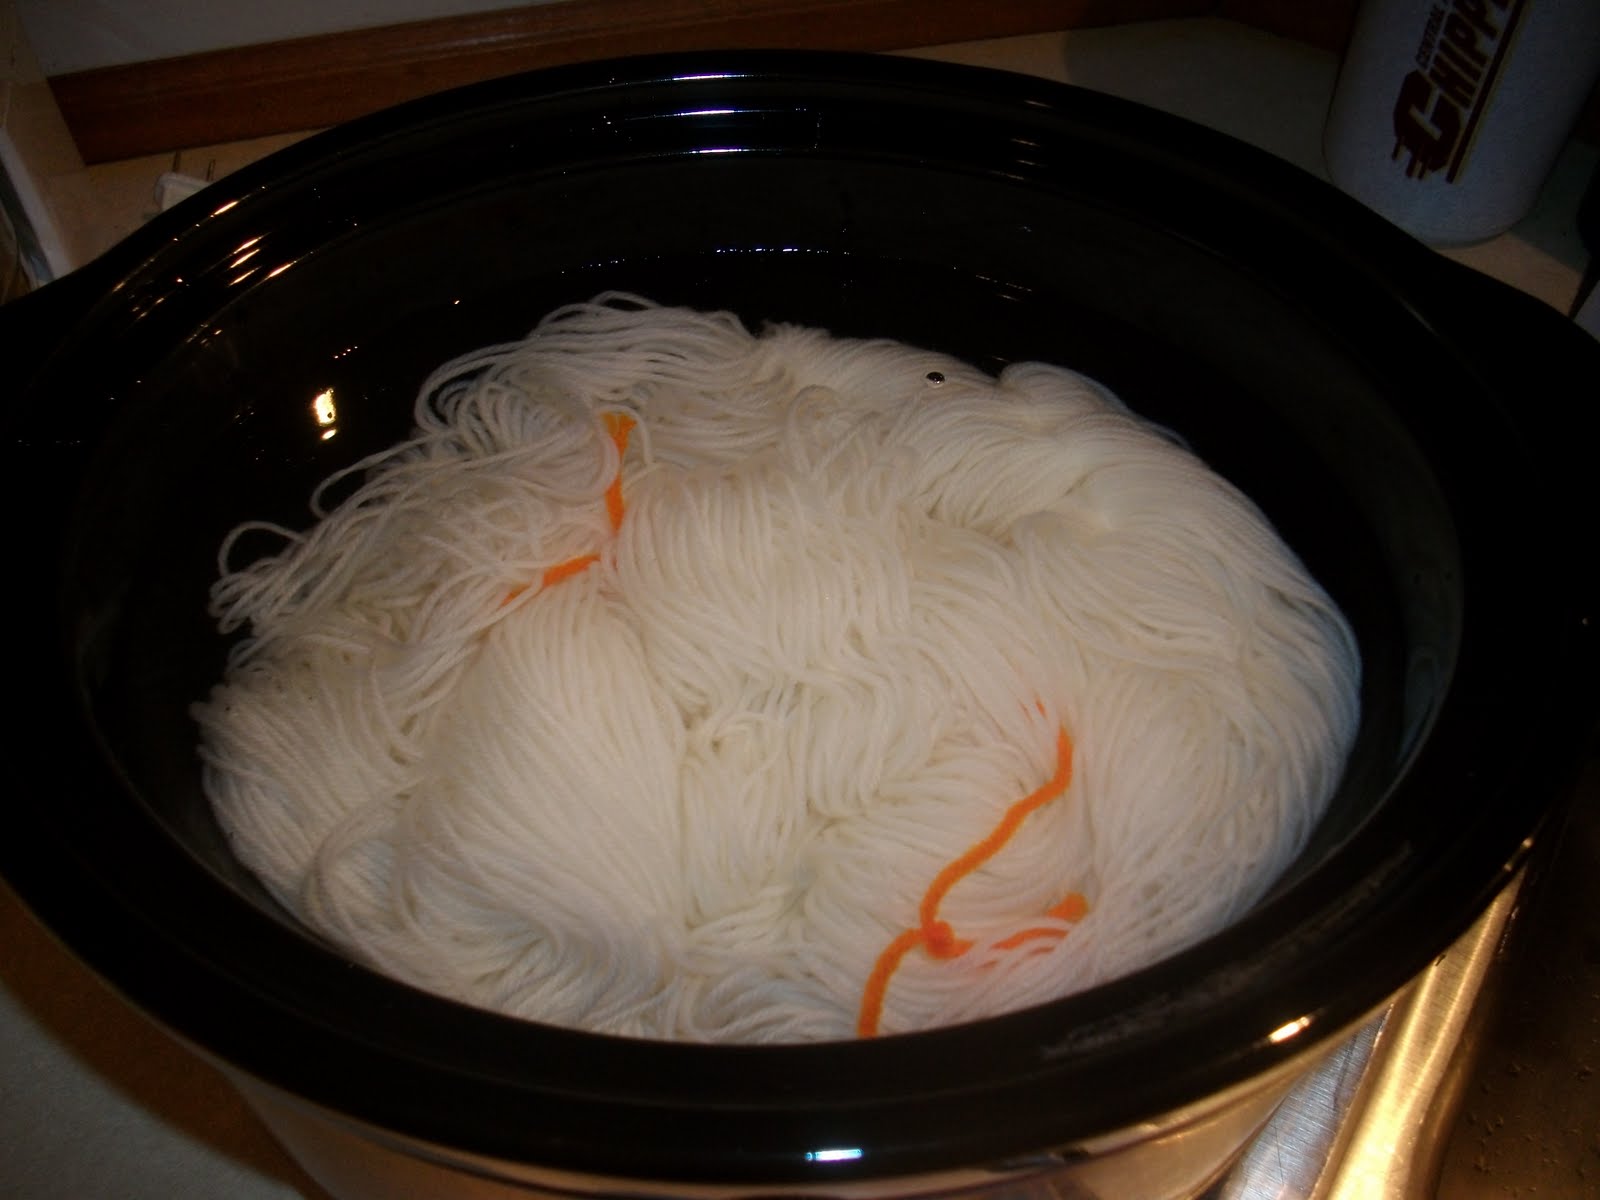
3. Soak your yarn for several hours or overnight.  Simply put the yarn into the container you will soak it in, and gently pour in room temperature water.  Push down on the yarn with your hands to remove air bubbles.  I soaked mine right in the slow cooker, but used NO HEAT for this step.  At this point, the slow cooker is turned off and unplugged.

4. Once the yarn has soaked long enough, mix up your dye with water in a glass measuring cup (glass will not take on the color of the dye like a plastic cup may).  If you soaked your yarn in the slow cooker, remove it to a colander.

5.  Mix the dye with the water remaining in your slow cooker, and gently return the yarn to the colored water.  Use a spoon (unless of course you want to dye your hands, too) to gently push down on the yarn so it is under water.  Cover, turn the slow cooker on low, and (this is the hard part) WALK AWAY for a few hours.

 6. Leave it alone for a few hours until the water is clear.  Turn off and unplug the slow cooker.

7.  Uncover and allow everything to cool to room temperature.  Since I had the option, I took the crock out of the metal liner to allow for more airflow around it.  This seemed to help reduce cooling time.

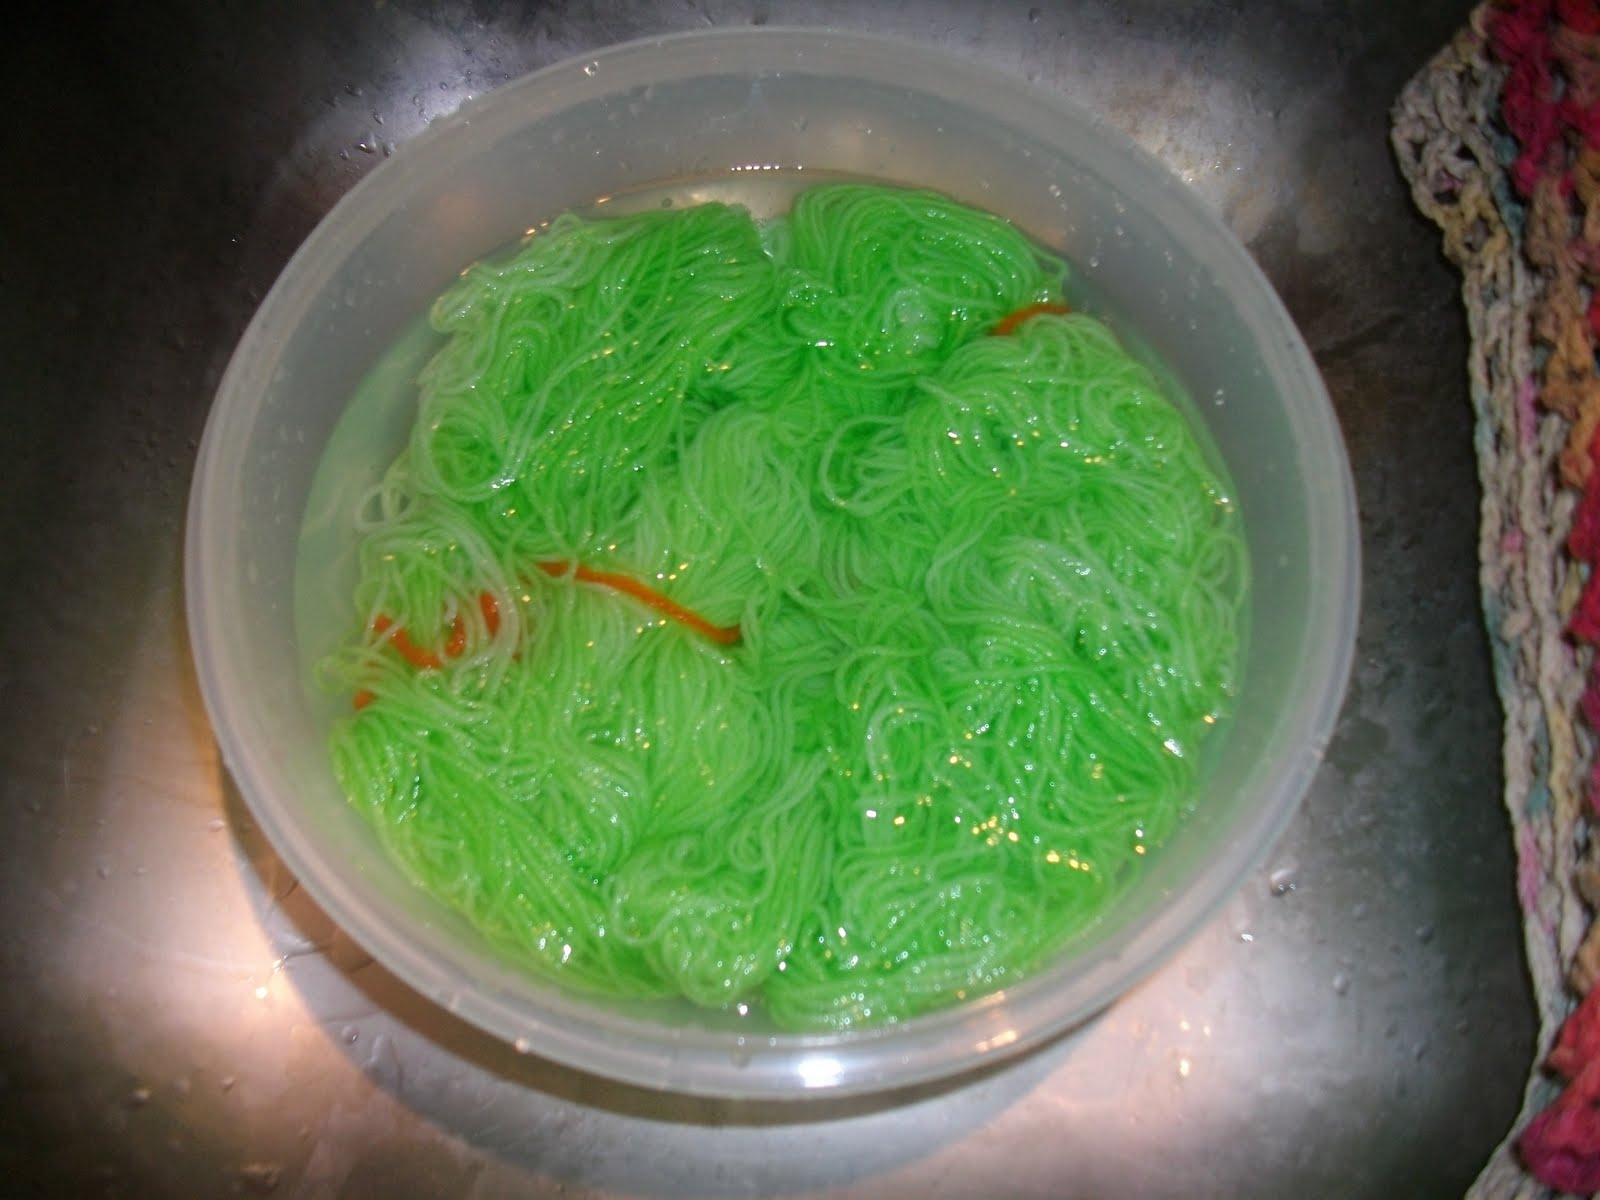
8. Once the yarn is cool, gently wash it in a bowl with a small amount of a very mild soap.  I used a dime-sized squirt of my dish soap.  Some people use baby shampoo.  There are also specialized yarn washes available.  In this instance, "wash" means "soak in the soapy water for about 10 minutes, turning once or twice as the spirit moves you".  Do not swish or squeeze the yarn much, this can cause it to felt (depending on the content).

9. Rinse yarn by removing from soapy water, dumping and thoroughly rinsing bowl, refilling the bowl, and returning yarn to clear water.  Maintain water temperature as much as possible; do not make drastic changes in temperature.  Again, do not agitate the yarn much.  Even if you have a yarn that will not felt easily, it's best to avoid forming habits that may cause you problems later.


10. Repeat this process (drain, rinse and refill bowl, return yarn to bowl, gently push down on yarn to rinse) until water is clear of all suds.


11. Remove yarn from bowl and gently squeeze out excess water.  Most of the time, this is accomplished by rolling it up in a towel.  However, since this is a superwash yarn, I cheated and spun it out in the washing machine by carefully opening the skein around the agitator, then turning on the spin cycle for a few minutes.  This is where the orange ties came in handy.  It was very easy to find exactly where to open up the skein around the agitator in the washer.


12. After removing the excess water, hang skein to dry.

13. Wind your yarn into a cake, and you're ready to work with it!